

Are you keeping food fresh in your fridge with clingfilm and the mountain of containers like I do? Have a go at these! The new eco trending reusable wrap, lasting approximately a year, refresh or make more and they're bio-degradable using only natural materials!
EW's Mumma Ice Queen
HOW TO: make beeswax wraps that work!
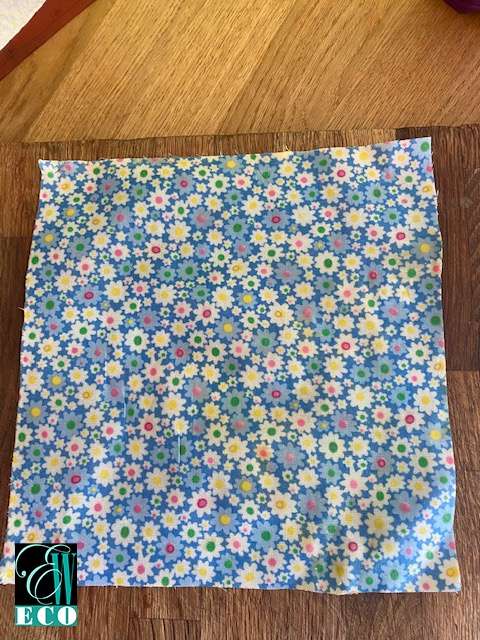
This ‘how to’ makes enough mixture to cover six squares of fabric 25cm x 25cm. I bought cotton quilting squares. For me personally the perfect size, I specifically want the wraps for cheeses and covering tin cans and leftover dishes. Instead of using cling-film or a container which take up more room, I also wouldn’t mind minimising the plastics cupboard that avalanches when the door opens!
Preparation & Method
Required
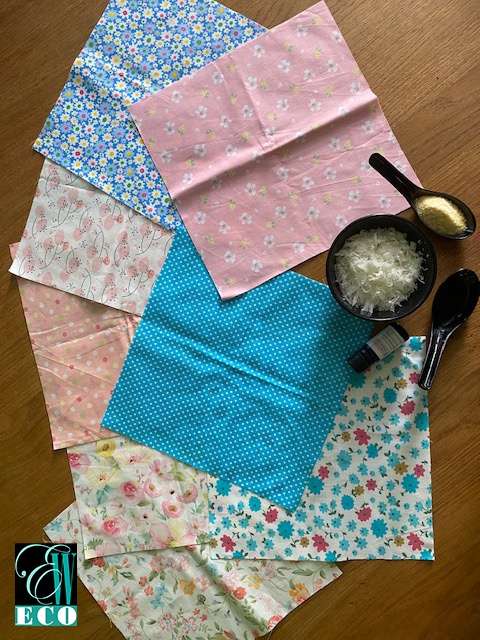
- 6 x 25cm x 25cm fabric squares (clean and dry)
- 4 oz or 113 grams beeswax
- 1 oz or 28 grams pine resin
- 1/2 oz or 14 grams Jojoba oil or mineral oil
- 6 x drops essential oil
Equipment
- Double boiler (glass bowl over a pan of simmering water)
- Brush (a clean paint or cooking brush fine)
- Grease proof paper
- Newspaper [* for damage control]
- Iron
STEP 1:
PREP MATERIALS
Choose your fabrics, cutting to the desired size you want your wrap/s, it should be clean and dry. You could make a large sheet and cut as you need.
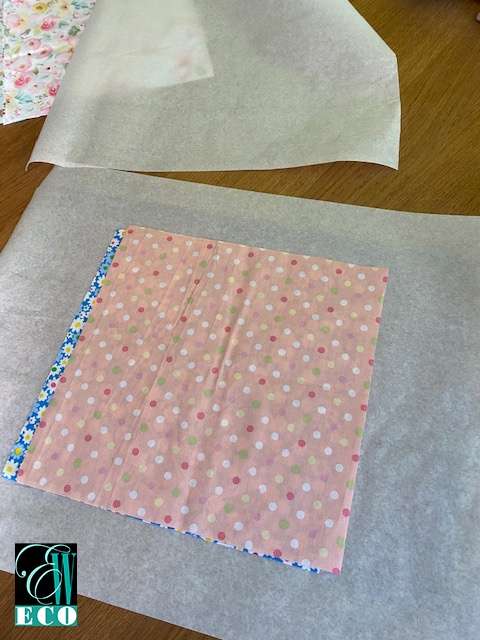
Put a few sheets of newspaper on your work board for protection and then a piece of greaseproof paper bigger than the fabric you are using over the newspaper.
I layered two pieces of fabric together so the excess wax mixture on the one piece can be absorbed and you can make two pieces of beeswax wraps at once.
STEP 2: MELT WAX AND RESIN MIXTURE
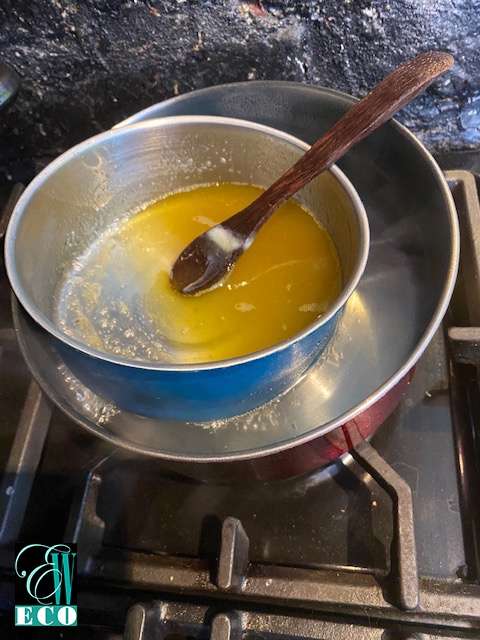
Place beeswax, pine resin, Jojoba oil or mineral oil with the drops of essential oil in a double boiler. I used two cans one smaller than other (see pic). Add water to the pot until it’s about halfway below the rim of the inside container or double boiler. Use medium heat to bring water to boil, then reduce to a simmer over low heat. The wax and resin will melt and blend together in about 10 to 20 minutes. Stir to ensure blended.

STEP 3: BRUSH & IRON BEESWAX MIXTURE
Brush mixture on to fabric to fully saturate. It will solidify so you may find drizzling it all over fabric better which is also fine, as ironing is next, which will melt the wax again and distribute soaking in.
Next cover the fabrics with a piece of grease proof paper on top. Set your iron to the cotton linen setting, and iron the grease proof paper fabric sandwich.
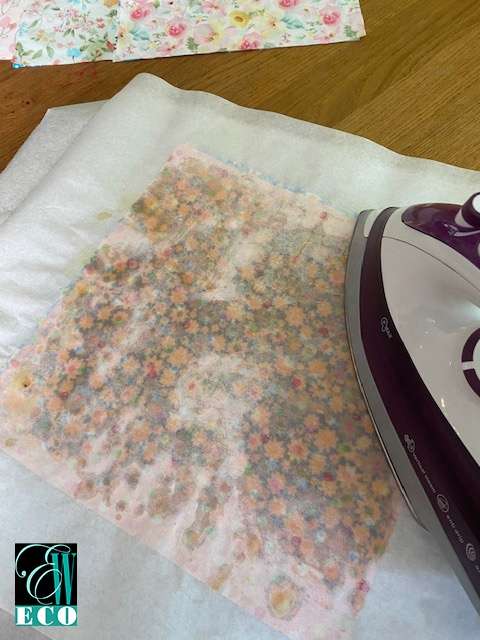
You will see the wax mixture melting and saturating the fabric layers. If you miss a spot just lift the parchment paper and brush on more wax mixture.
Once the fabrics are evenly saturated, quickly lift the parchment and peel apart the fabrics before the wax mixture solidifies. Hang your completed wraps to cool completely for 10 minutes. Sticky when still warm, they will dry.
MY WRAP DOESN’T STICK!
LEFTOVER MIXTURE?
Pour into an ice tray, cubes are great to refresh your beeswax wraps or make new ones as the coating on the wraps does wear off. I have found with a bought one it lasted about 8 months. Hence why decided to have a go at my own. I used a brush and metal container I don’t mind being left a little messy with residue on, as I intend to use for refreshing my wraps in future.
USING BEESWAX WRAPS
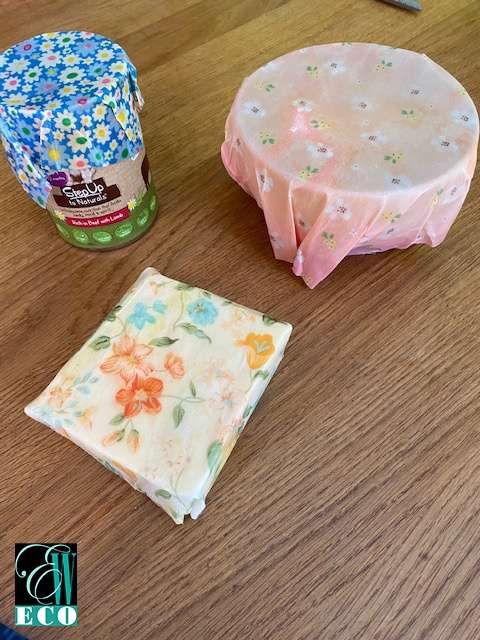
You can use beeswax food wraps on almost anything of a solid nature, common sense prevails here really. They can be used to cover bowls, wrap vegetables and cheese, or folded as a bag for sandwiches and snacks. The antibacterial properties of beeswax can also help keep your produce fresh longer. I also put the drops of frankincense into the mix to help with eliminating a heavy beeswax smell and also due the properties of the essential oil having antiseptic and astringent properties.
DO NOT USE ON:
raw meat, highly acidic foods or hot temperatures. Hot temperatures will melt the coating on the wrap, so allow foods to cool first.
CLEANING & STORING BEESWAX WRAPS
Important: only use cold water when cleaning your beeswax food wraps! If your wrap was used for non greasy or dry surfaces like bread, carrots, or edge of a bowl, you can just dust them off or wipe with a clean soft sponge and let dry. If the wrap touched food that is more sticky or greasy, rinse with cold water and use a soft sponge with mild dish detergent to clean both sides. Rinse well with cold water, and leave to dry.
Because everything matters
I really enjoyed making these, if you give this eco-craft a try - we'd love to have your comments too!
EW's Mumma Ice Queen
Lorem ipsum dolor sit amet, consectetur adipiscing elit. Ut elit tellus, luctus nec ullamcorper mattis, pulvinar dapibus leo.